CheckListMakerの使い方 How to use CheckListMaker
目次
画面の説明
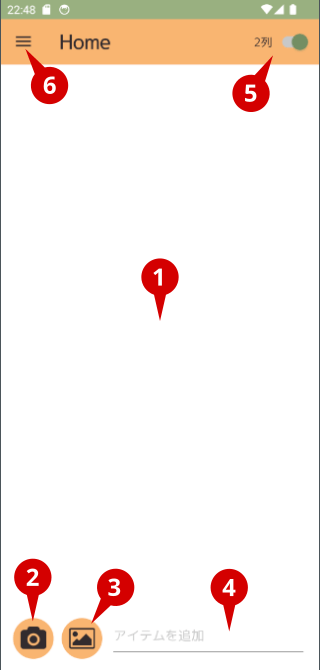
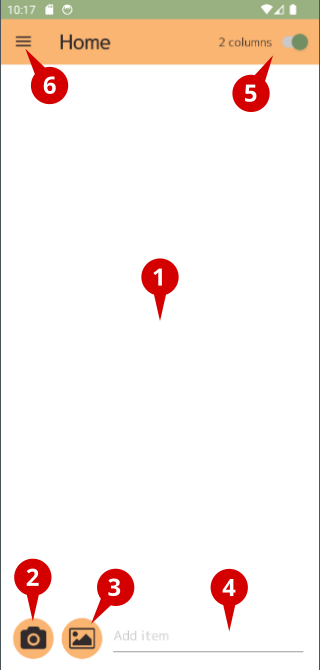
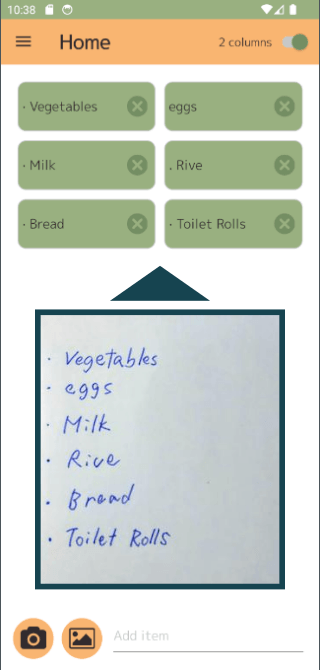
メイン画面
- ここにチェックリストを表示します。
- カメラを起動します。
- 保存してある画像を選択します。
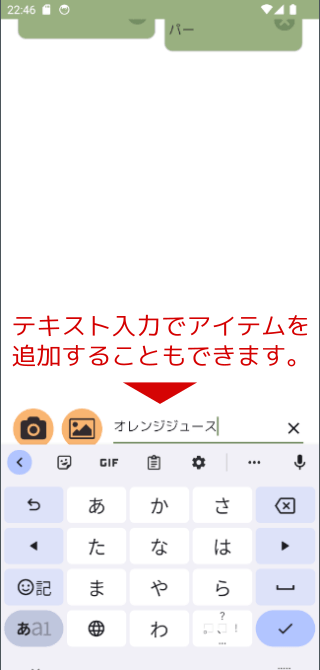
- テキストを入力しチェック項目を追加します。
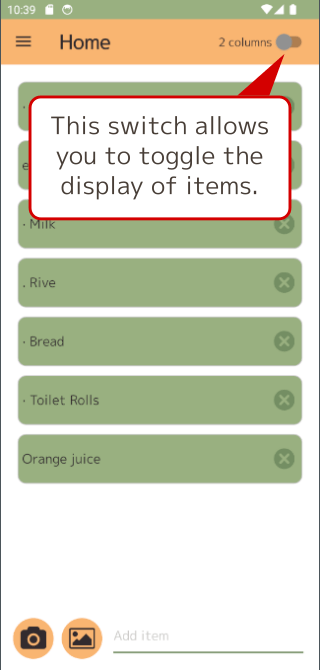
- 1列表示と2列表示を切り替えます。
- メニューを開きます。
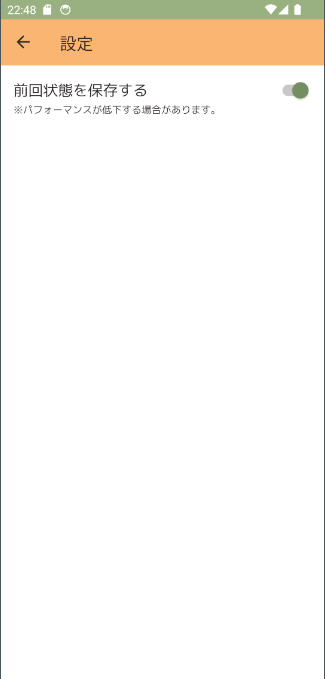
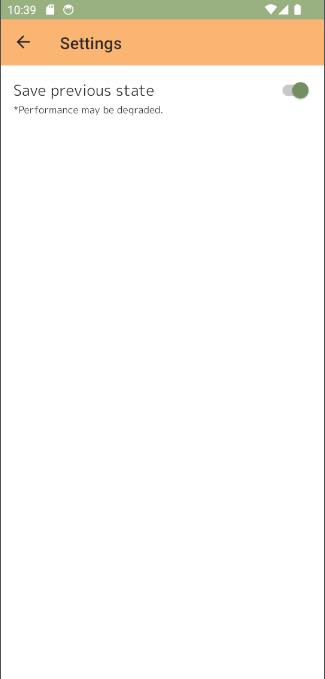
設定ページ
次回アプリ起動時に、前回作成したチェックリストが残るようにできます。パフォーマンスが少し遅くなります。
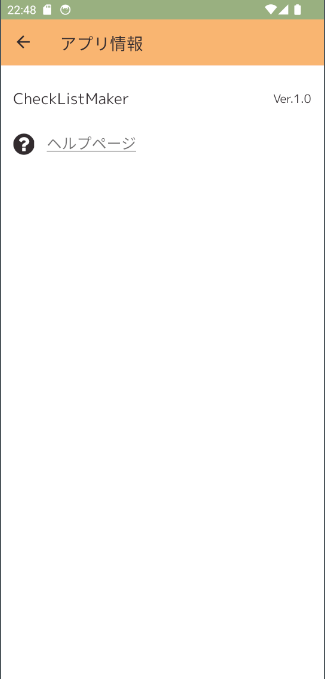
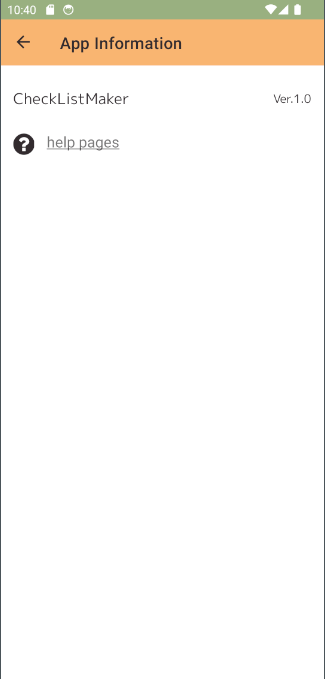
アプリ情報ページ
- アプリのバージョンを確認できます。
- ここからヘルプページに移動します。
使い方面の説明
チェックリスト作成
- カメラで撮影する、またはスマホに保存した画像を選択すると、自動でチェックリストが作成されます。
- チェック項目は編集できません。xボタンで削除し、テキスト入力で追加してください。
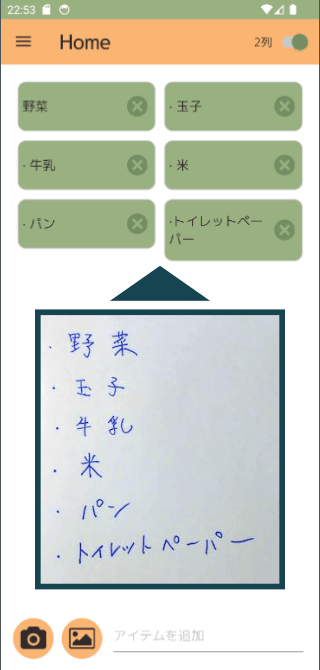
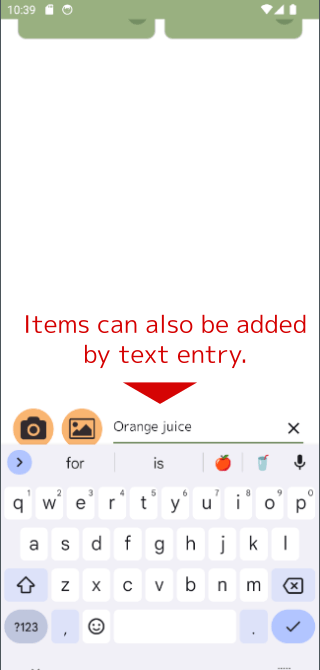
画面下のテキストフォームからチェック項目を追加できます。
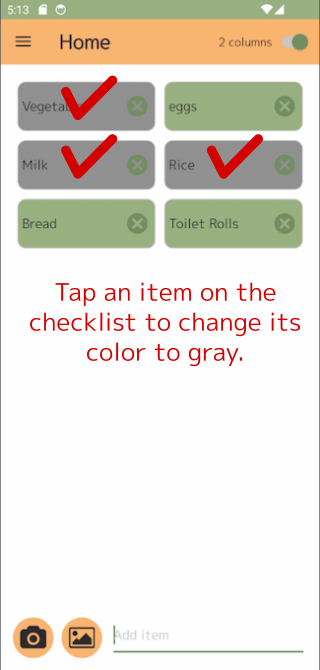
チェック方法
チェック項目をタップすると色がグレーに変わります。もう一度タップすると元の色に戻ります。

リスト表示の切り替え
画面右上のスイッチでチェックリストを1列表示または2列表示に切り替えます。
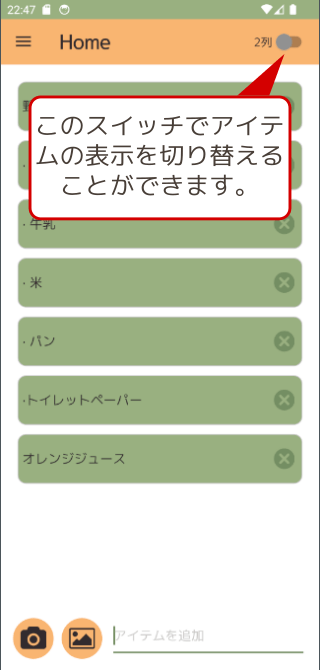
Table of Contents
Screen Description
Main Secreen
- Here is the checklist.
- Start the camera.
- Select a saved image.
- Enter text and add check items.
- Toggle between single and double row display.
- Open the menu.
Settings Page
The next time the application is launched, the previously created checklist can remain. Performance will be a little slower.
App Information Page
- You can check the version of the application.
- Go to the help page from here.
How to user
Checklist Creation
- Selecting an image taken with a camera or saved on a smartphone will automatically create a checklist.
- Checked items cannot be edited; use the x button to delete them and the text entry to add them.
Check items can be added from the text form at the bottom of the screen.
Check Method
Tap a check item to change its color to gray. Tap again to return to the original color.
Switching list view
The switch in the upper right corner of the screen toggles the checklist between a one- or two-column display.